Tutorial
Note
Work in progress
YouTube Tutorials in Spanish
There are diferents tutorials availables in Youtube.
Warning
We have update the workbench but we have not yet updated the followings tutorials
Tutorial CAD 1 - Create part
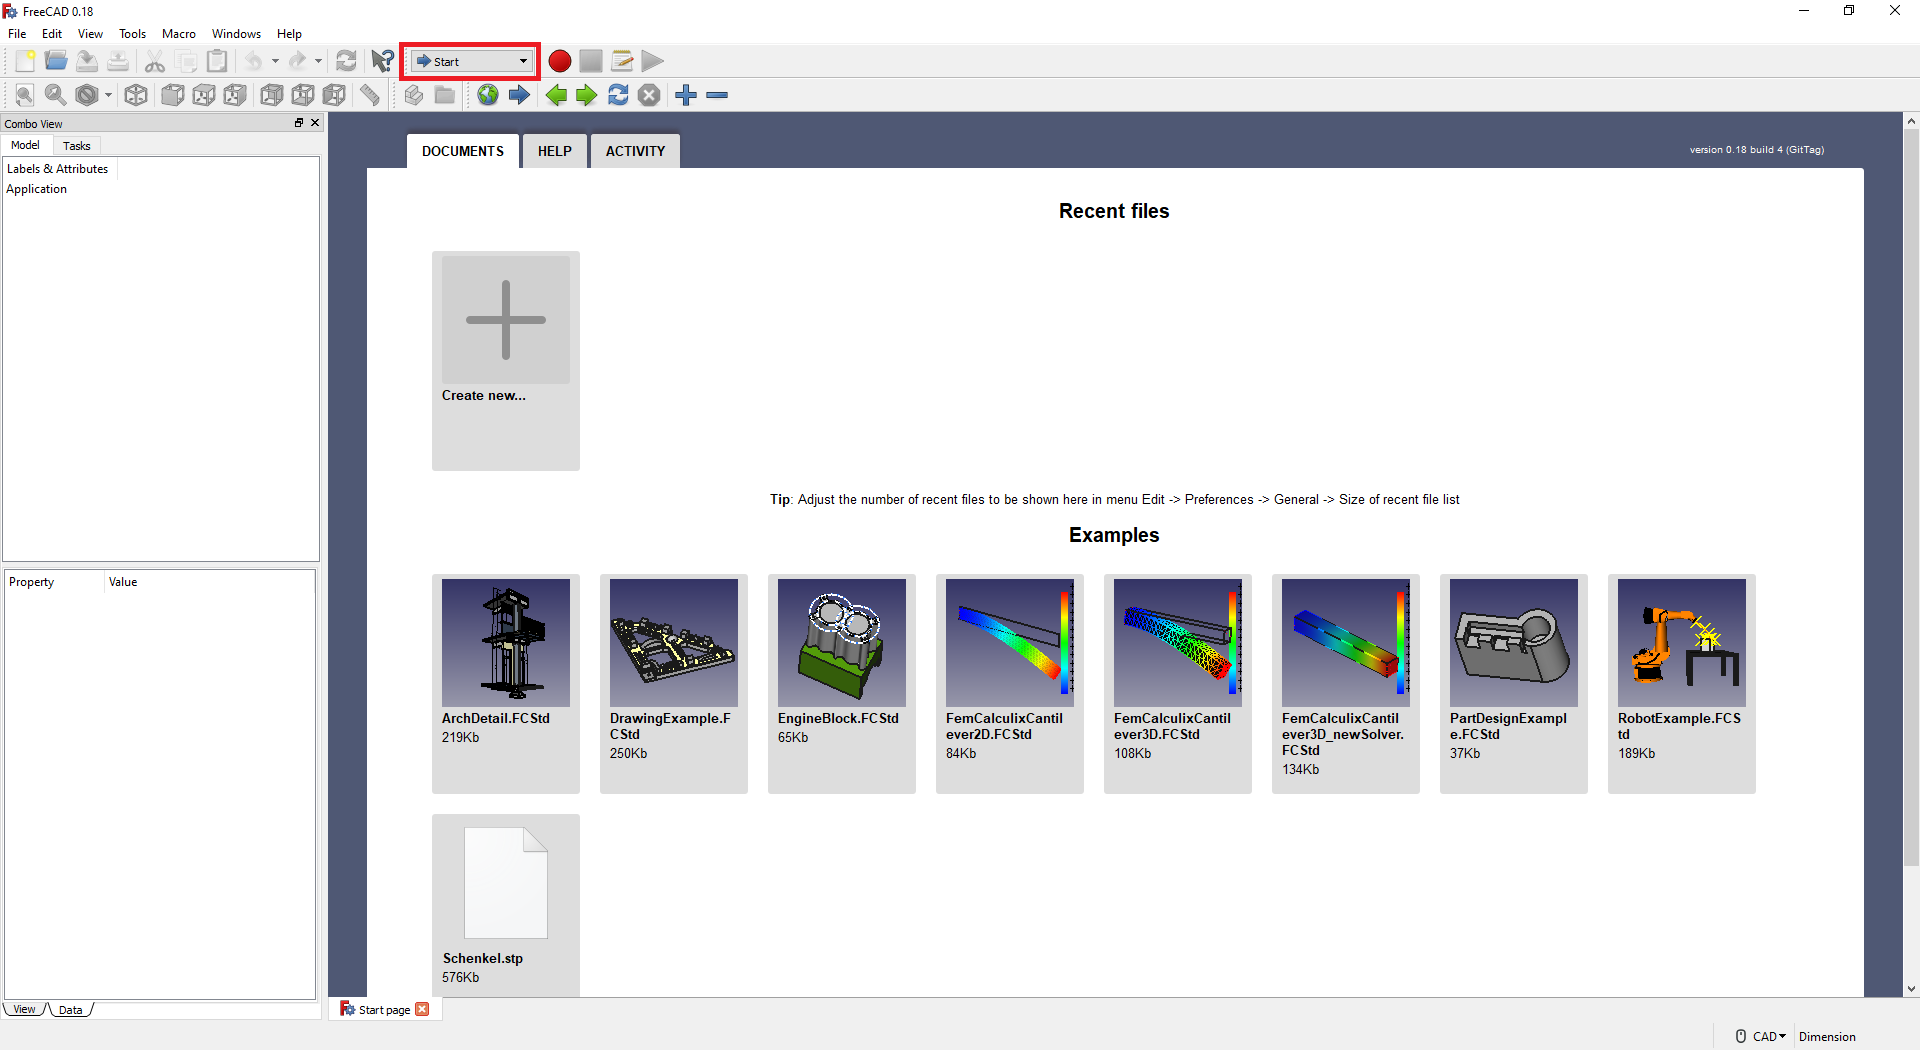
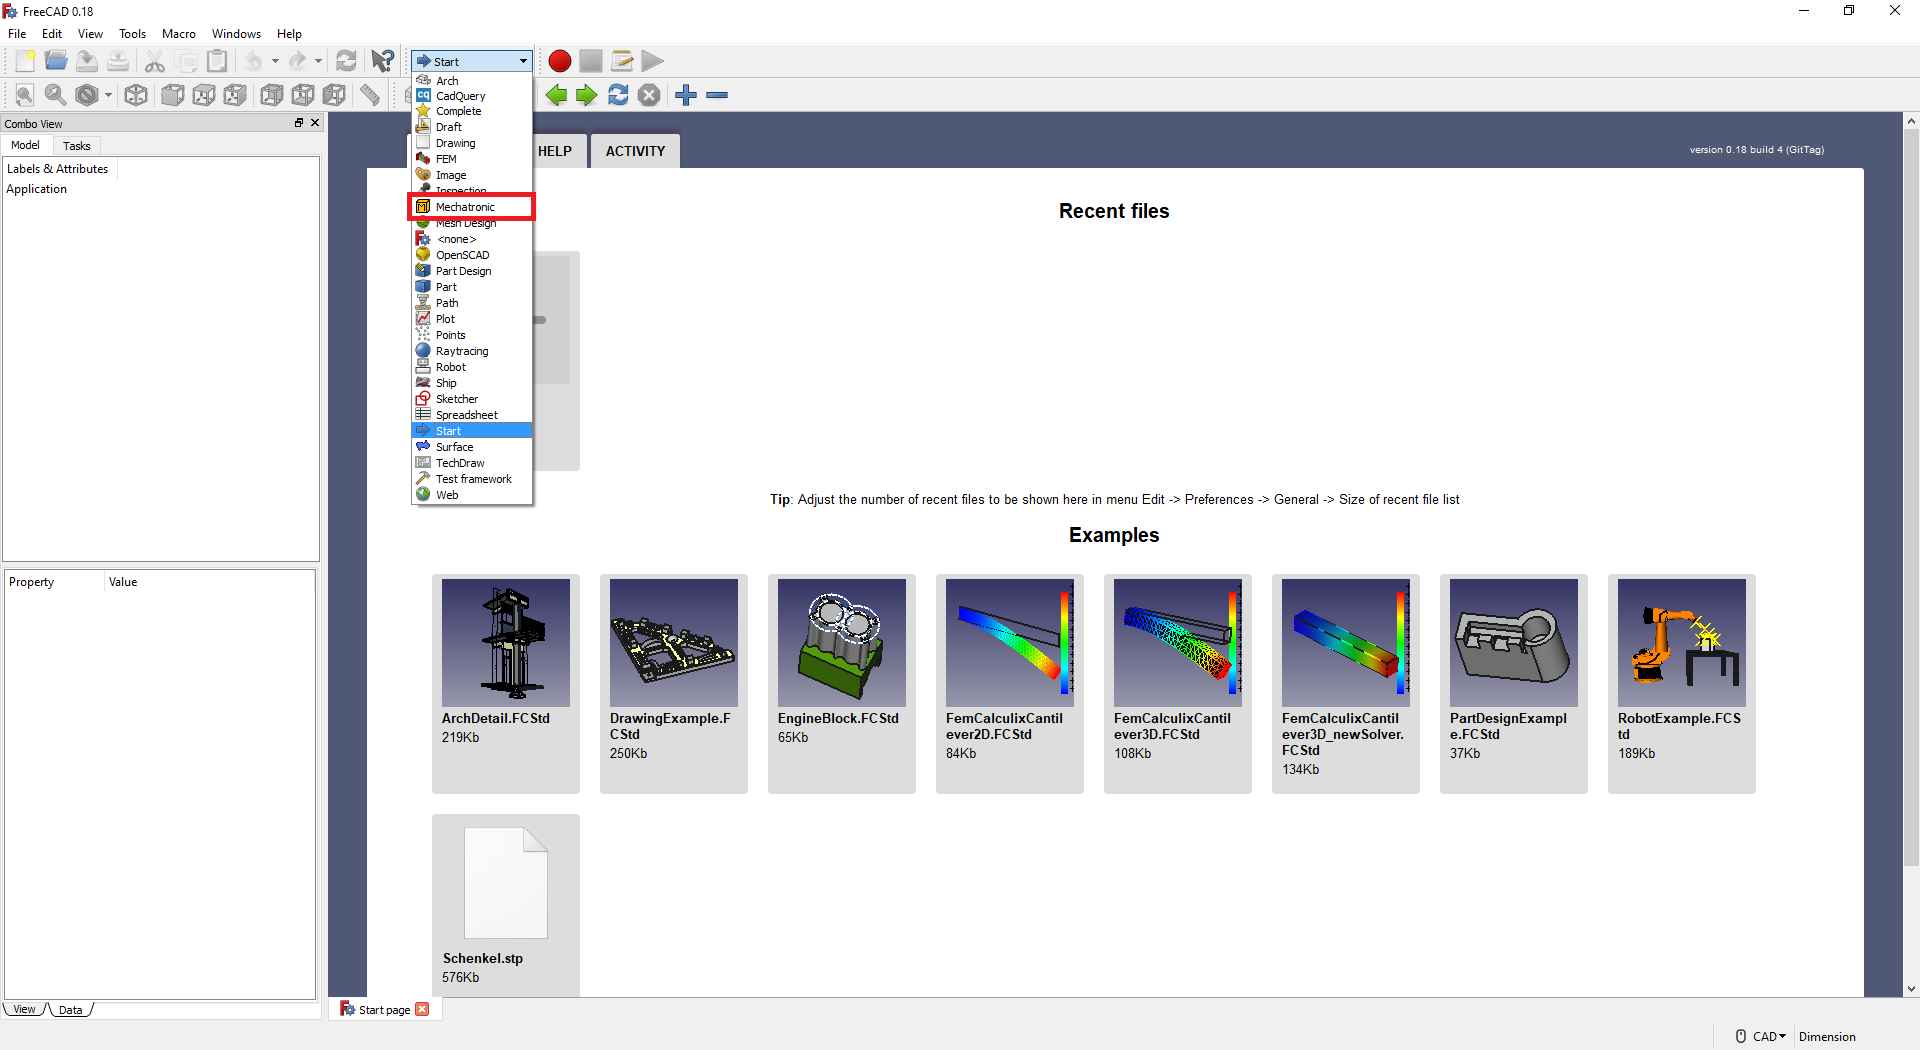
1- After opening FreeCAD, the first step is to select the Mechatronic workbench. To do this, click from the drop-down menu on the top bar and select Mechatronic.
Note
If Mechatronic does not appear, check that you have followed the installation steps correctly
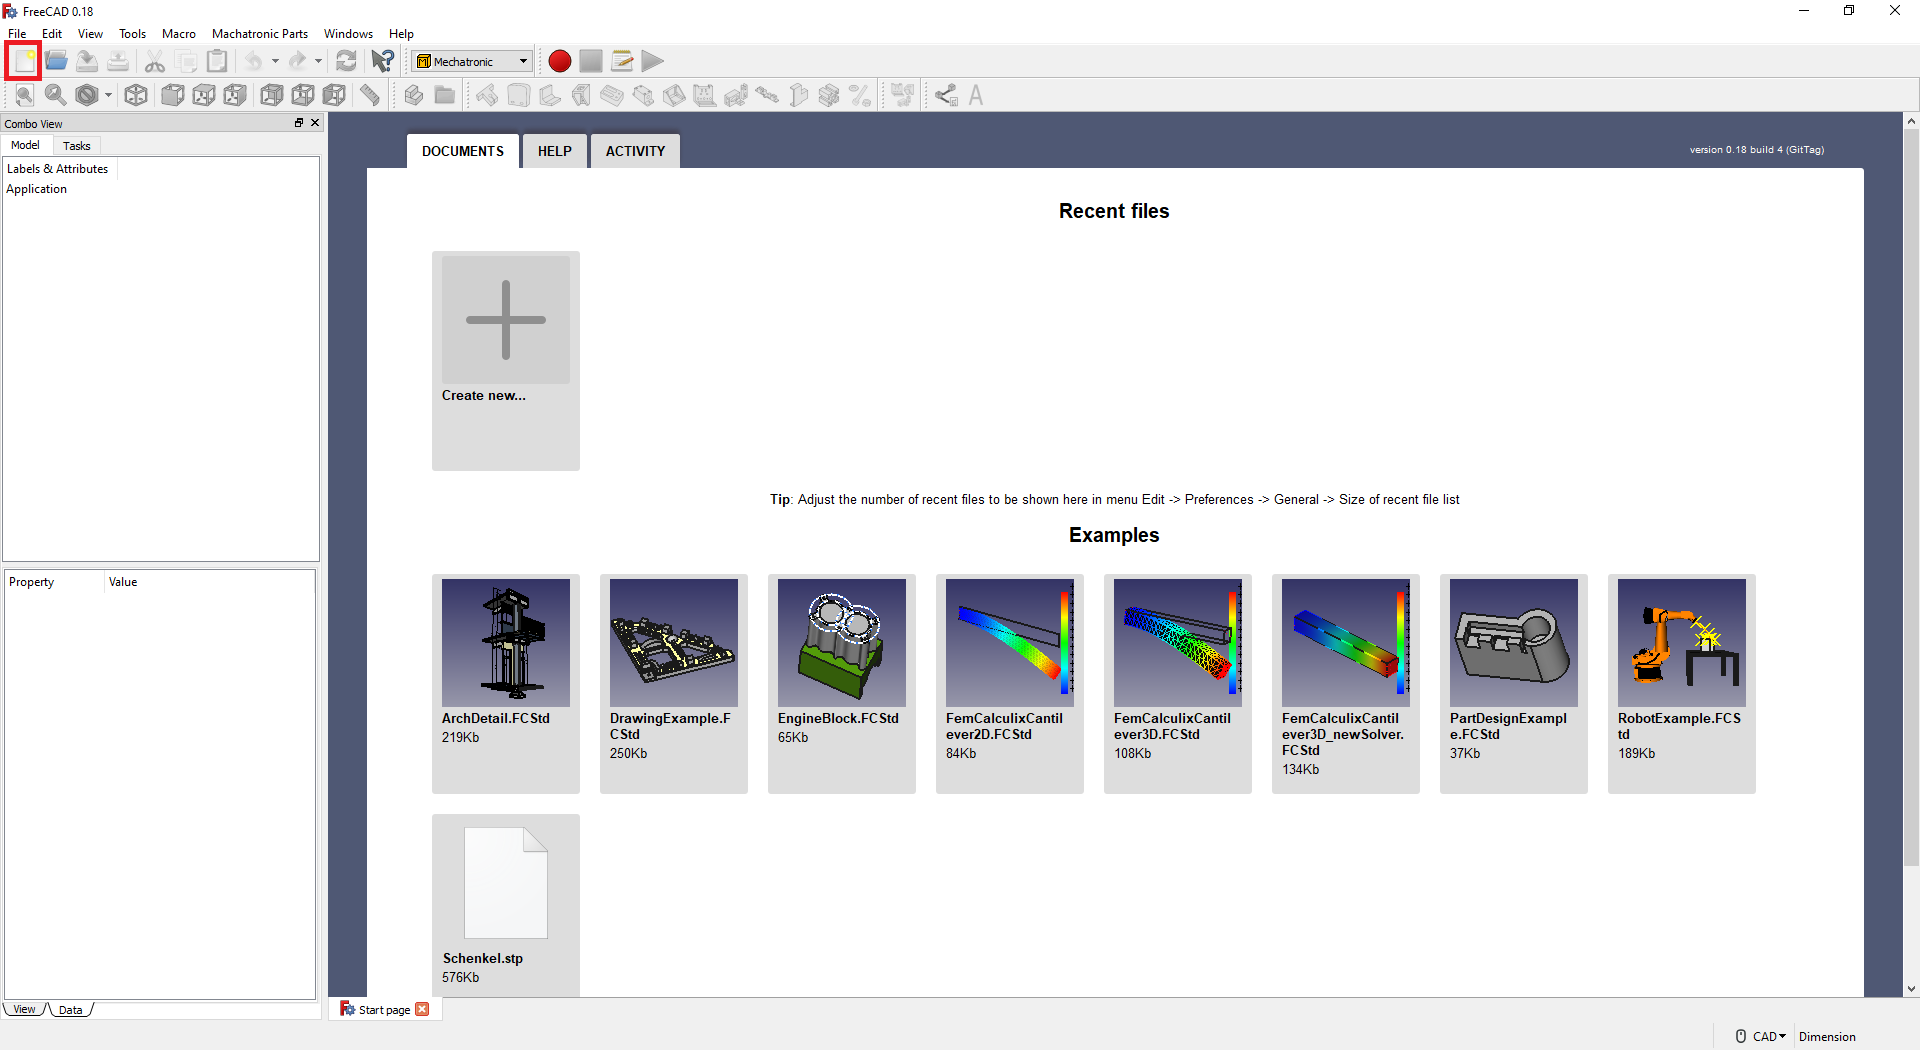
2- Once you have selected the Mechatronic workbench, open a new document, if you have not done so before.

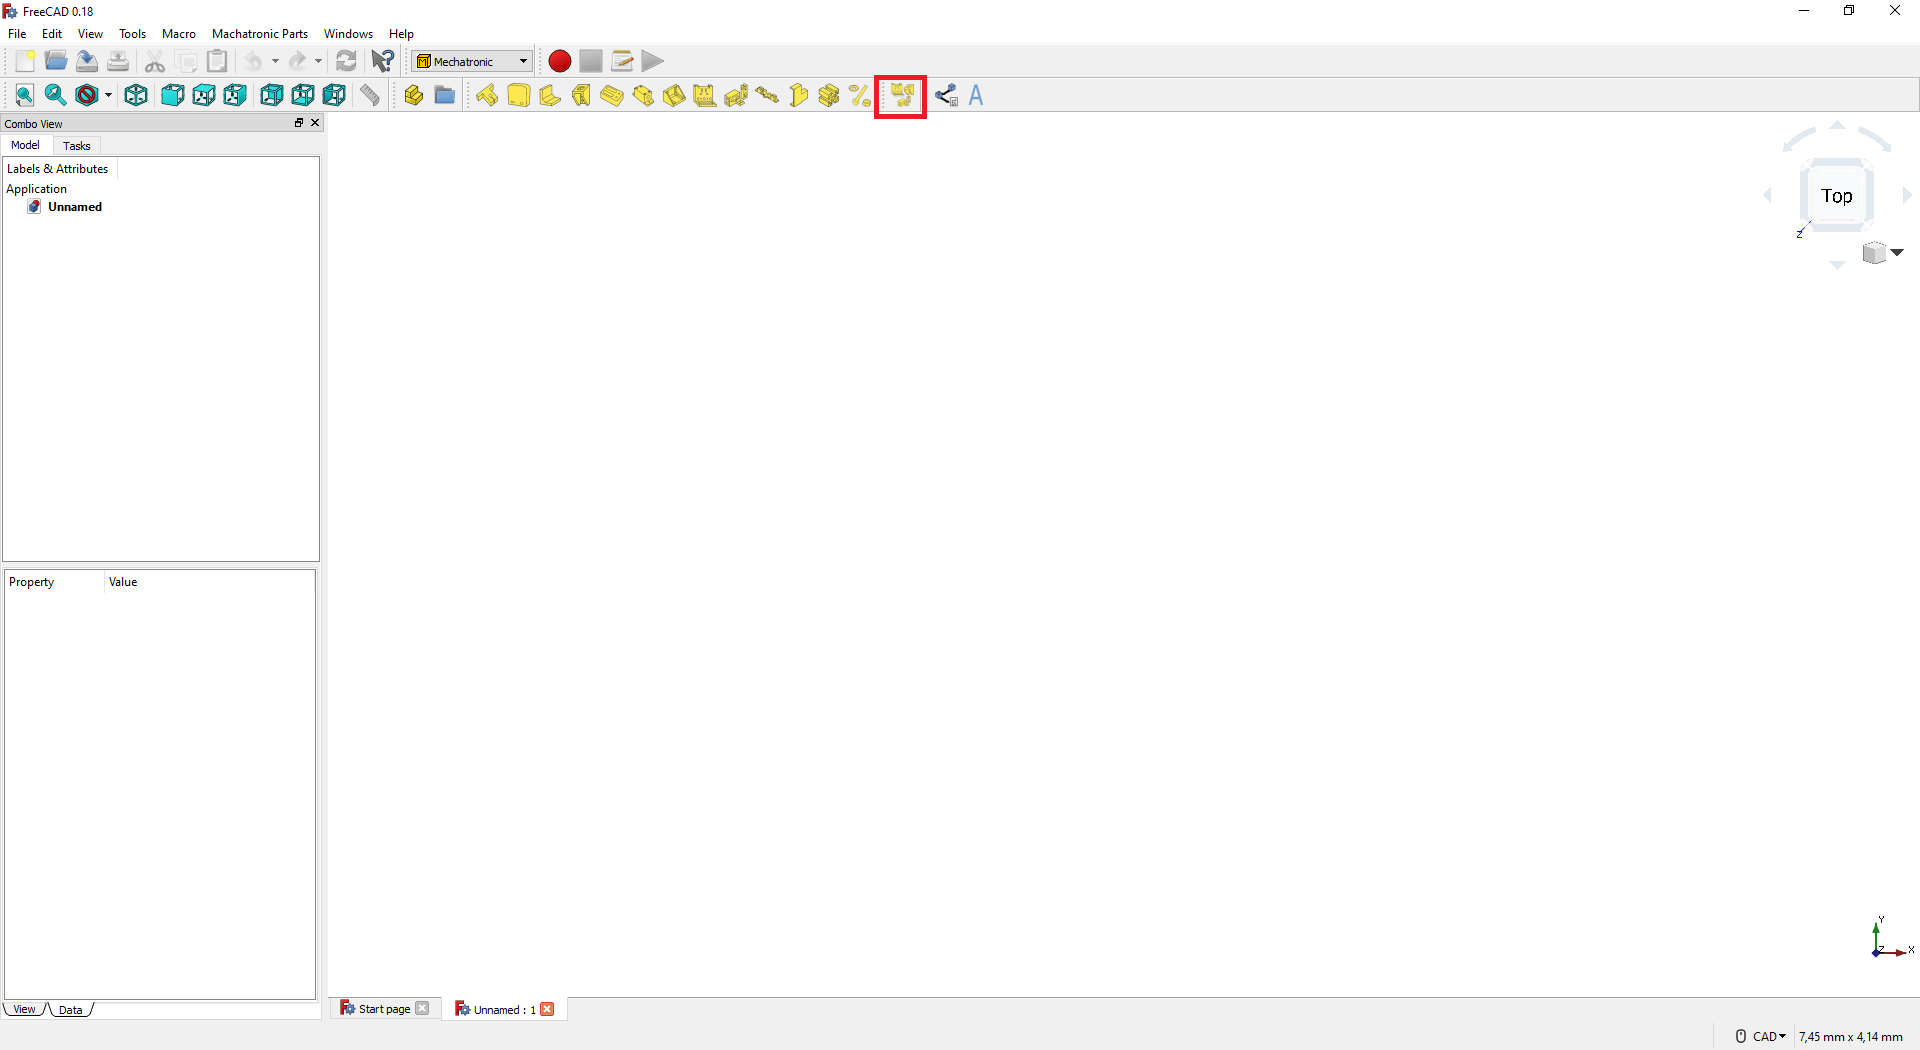
3- When you have selected the Mechatronic tool bank, a set of icons should appear at the top. Select one of the models to make your first part. You can also select the Mechatronic Parts menu to view the models available.
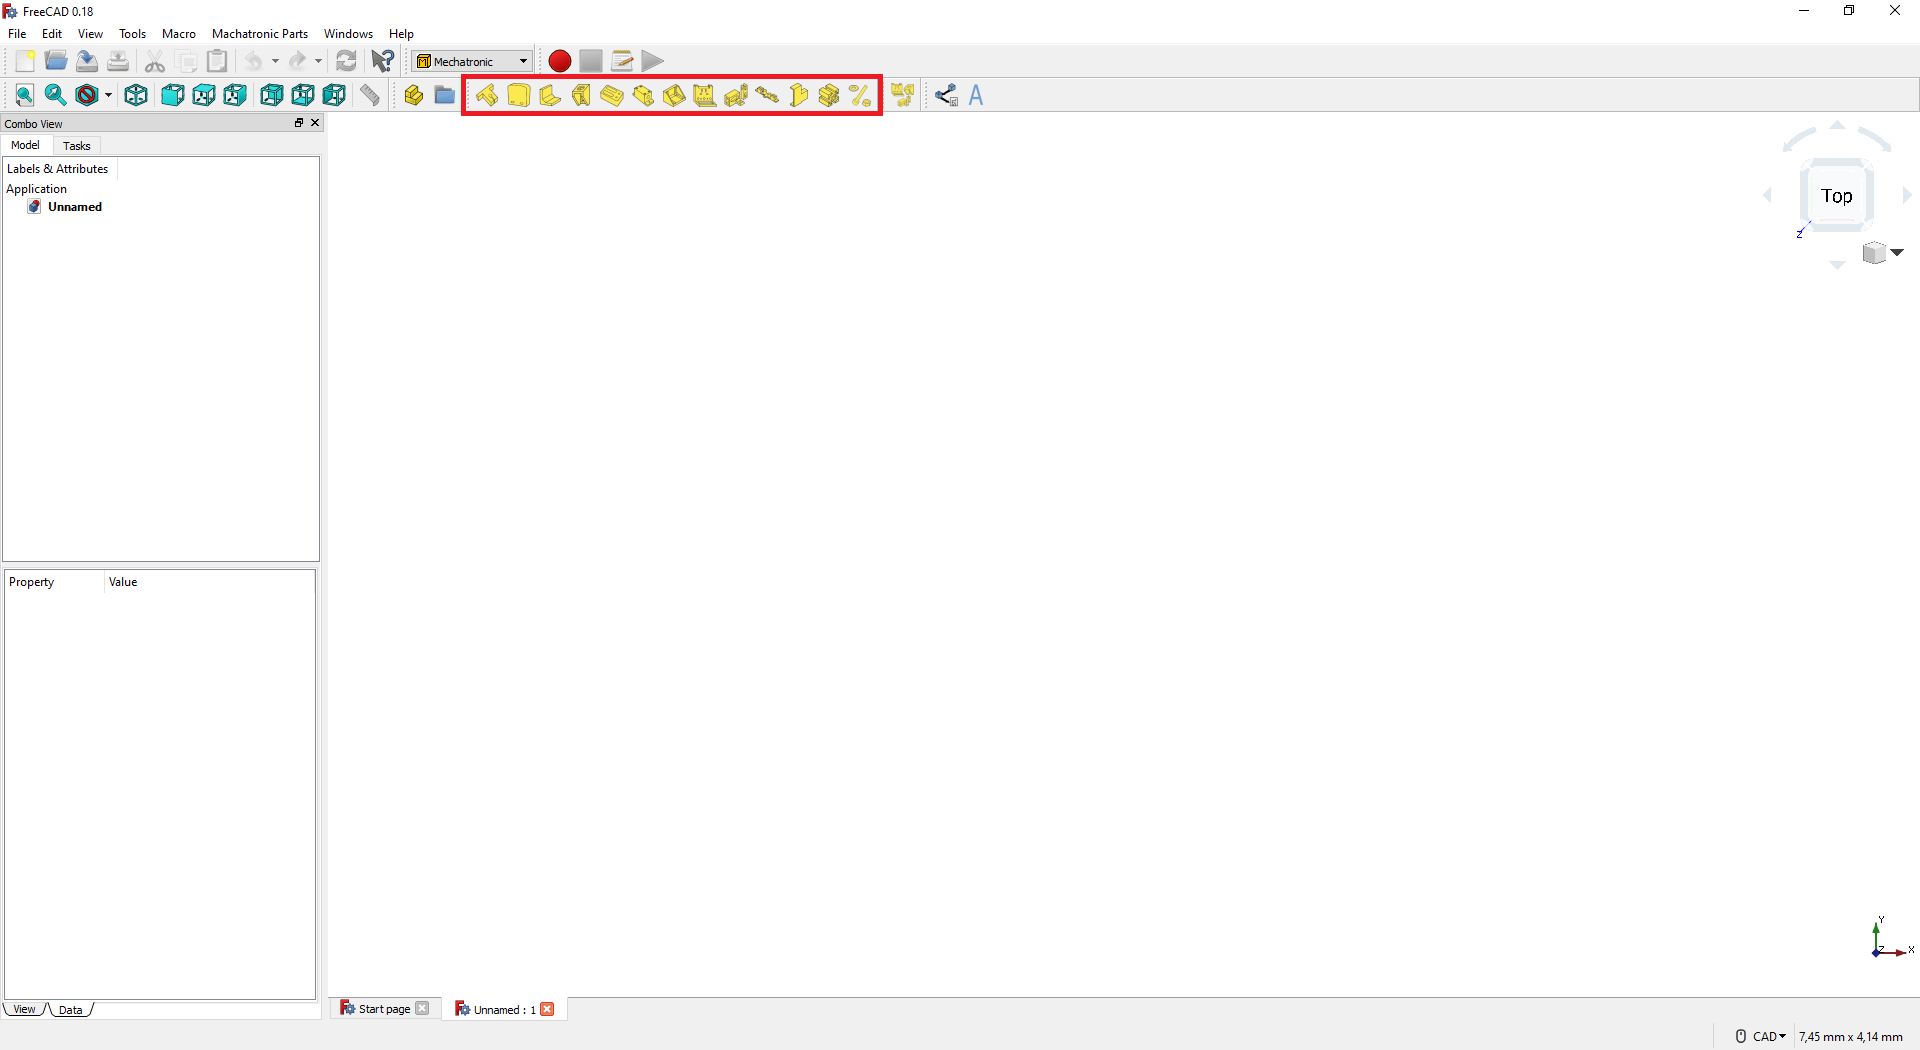
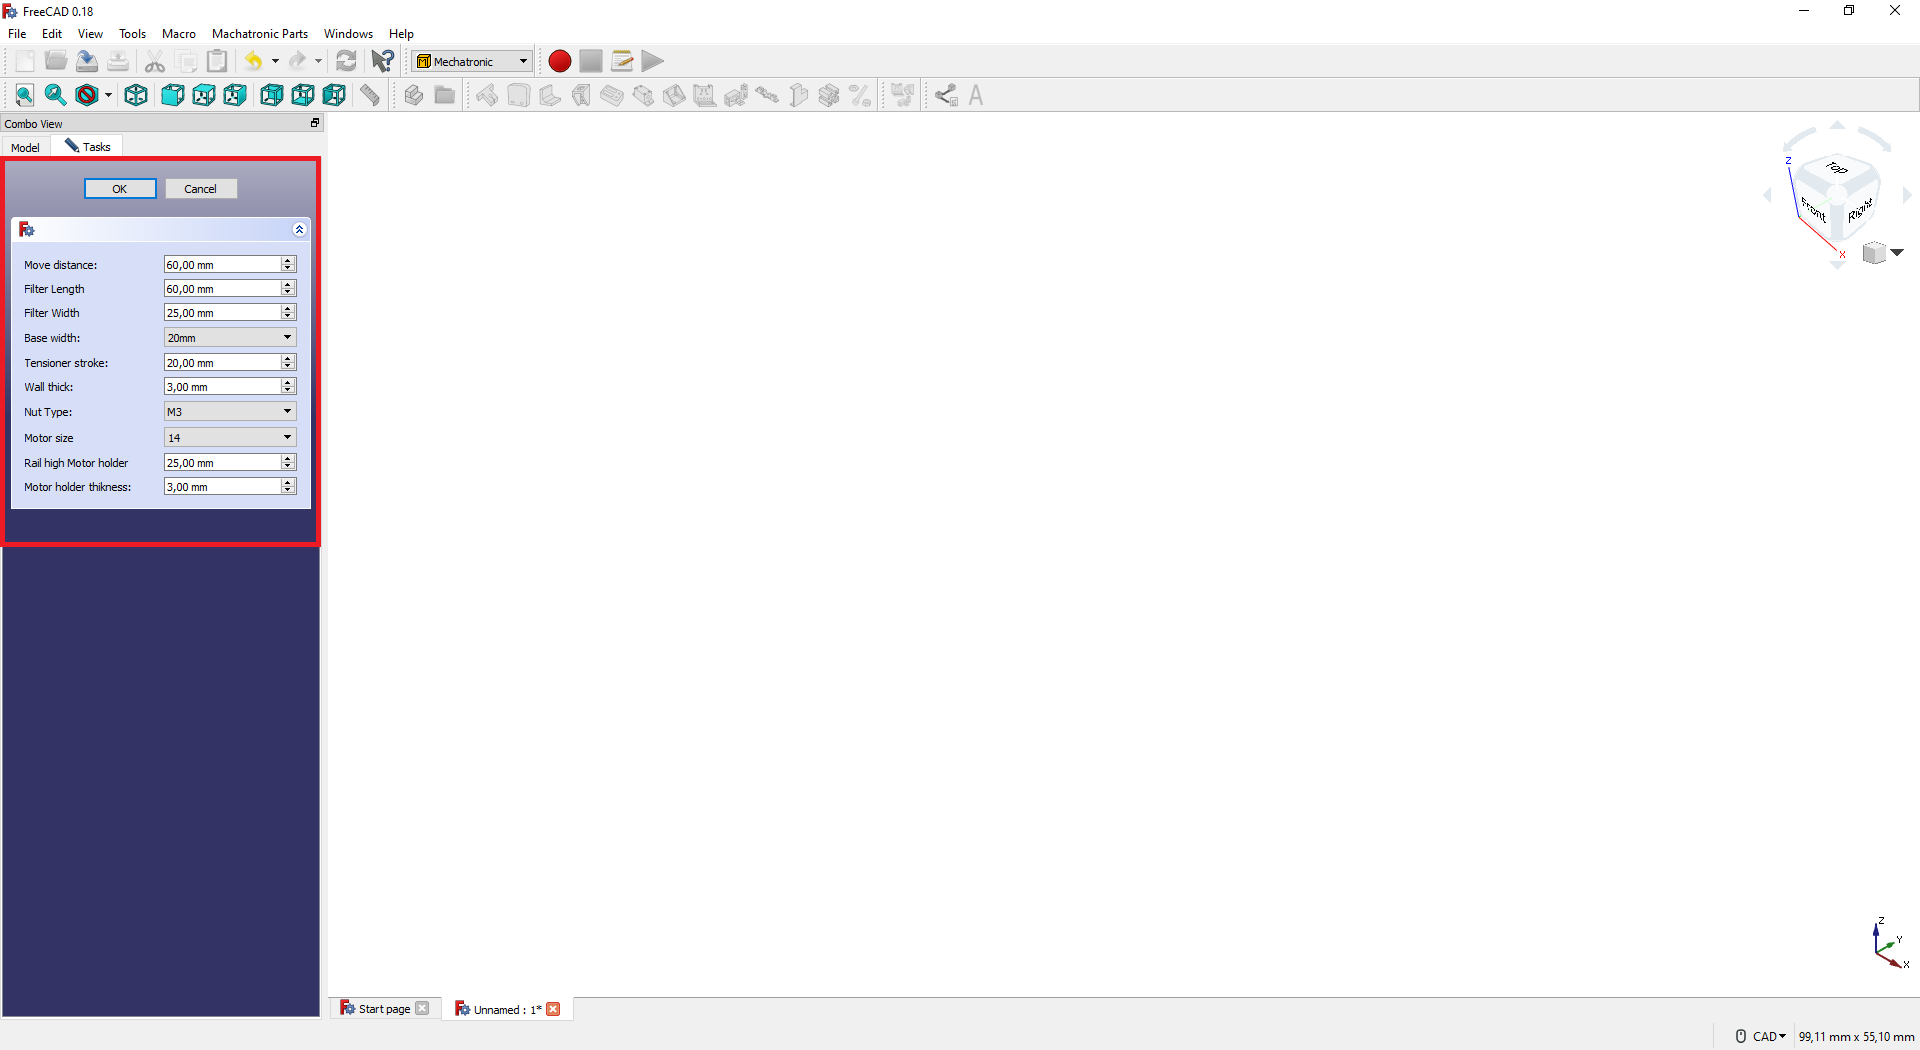
4- When one of the models is selected, the options to modify it will appear in the Tasks tab. Enter or select the values you want for the model. When you have finished, select OK to create the model.
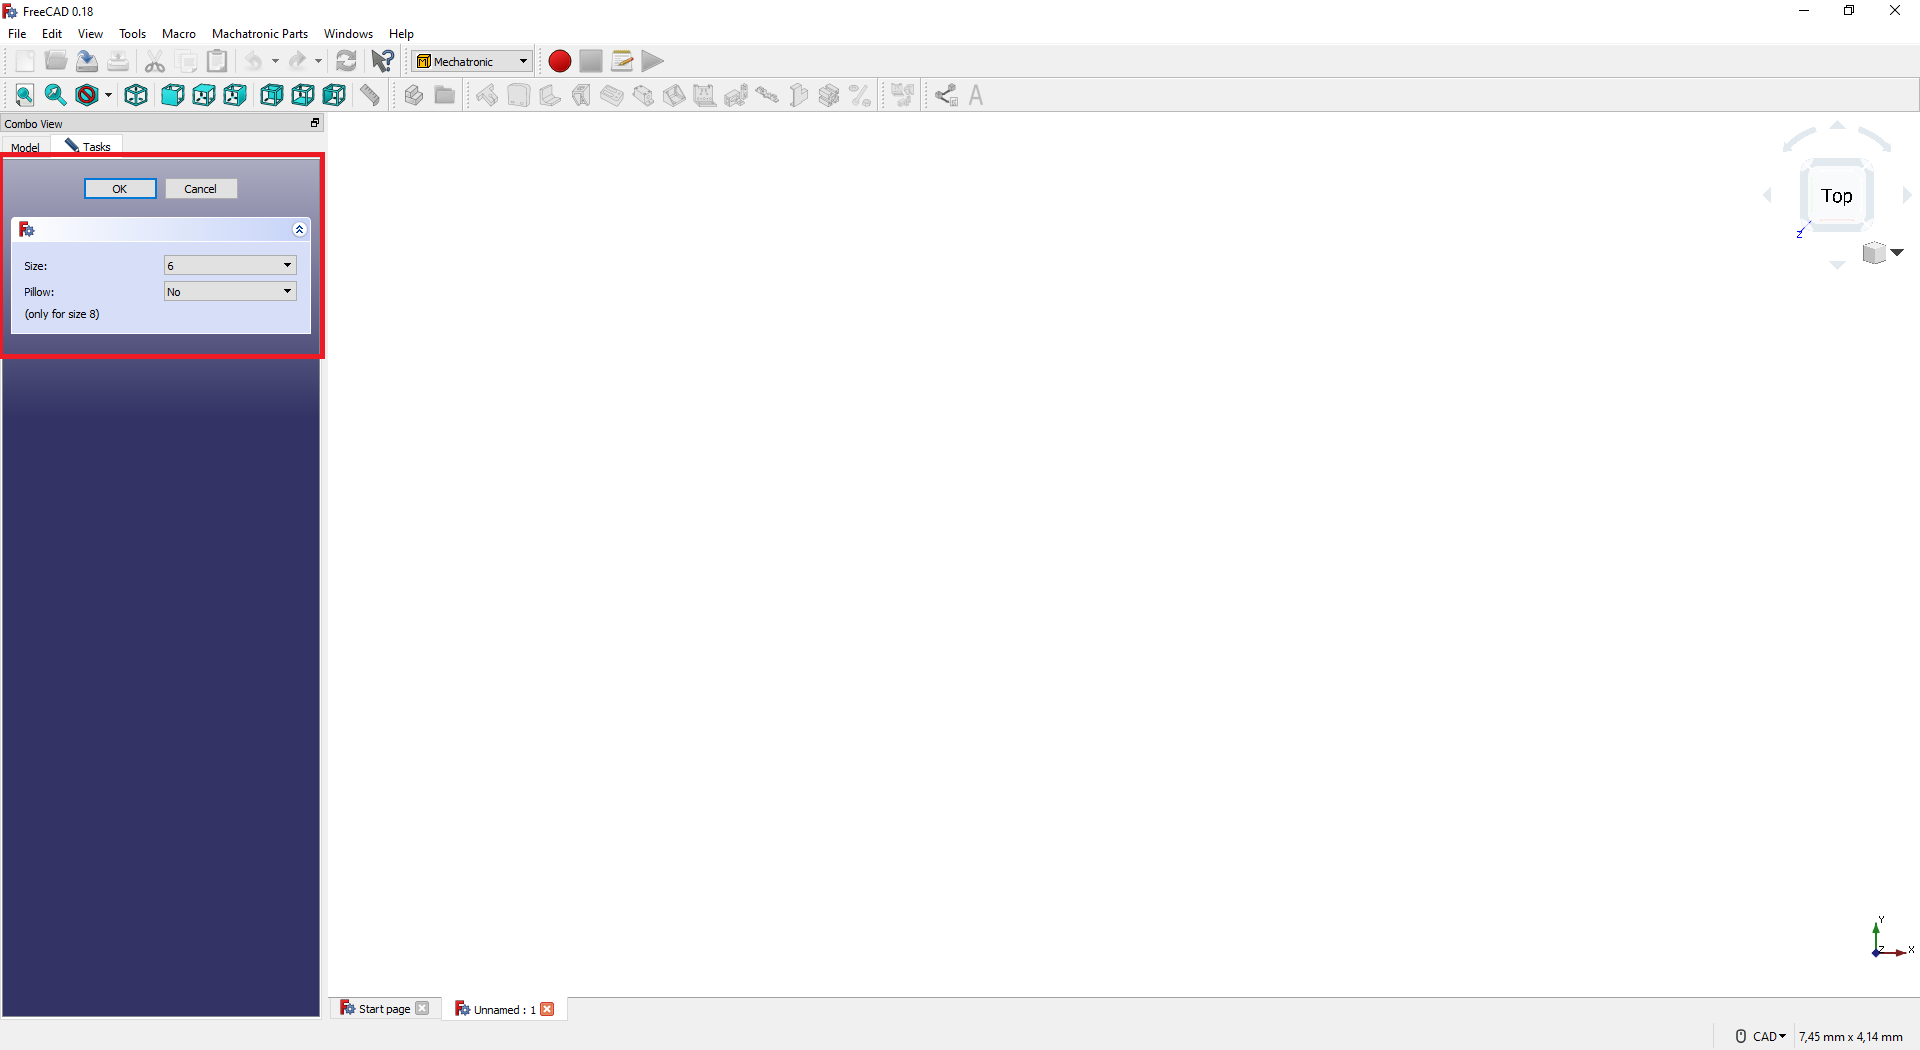
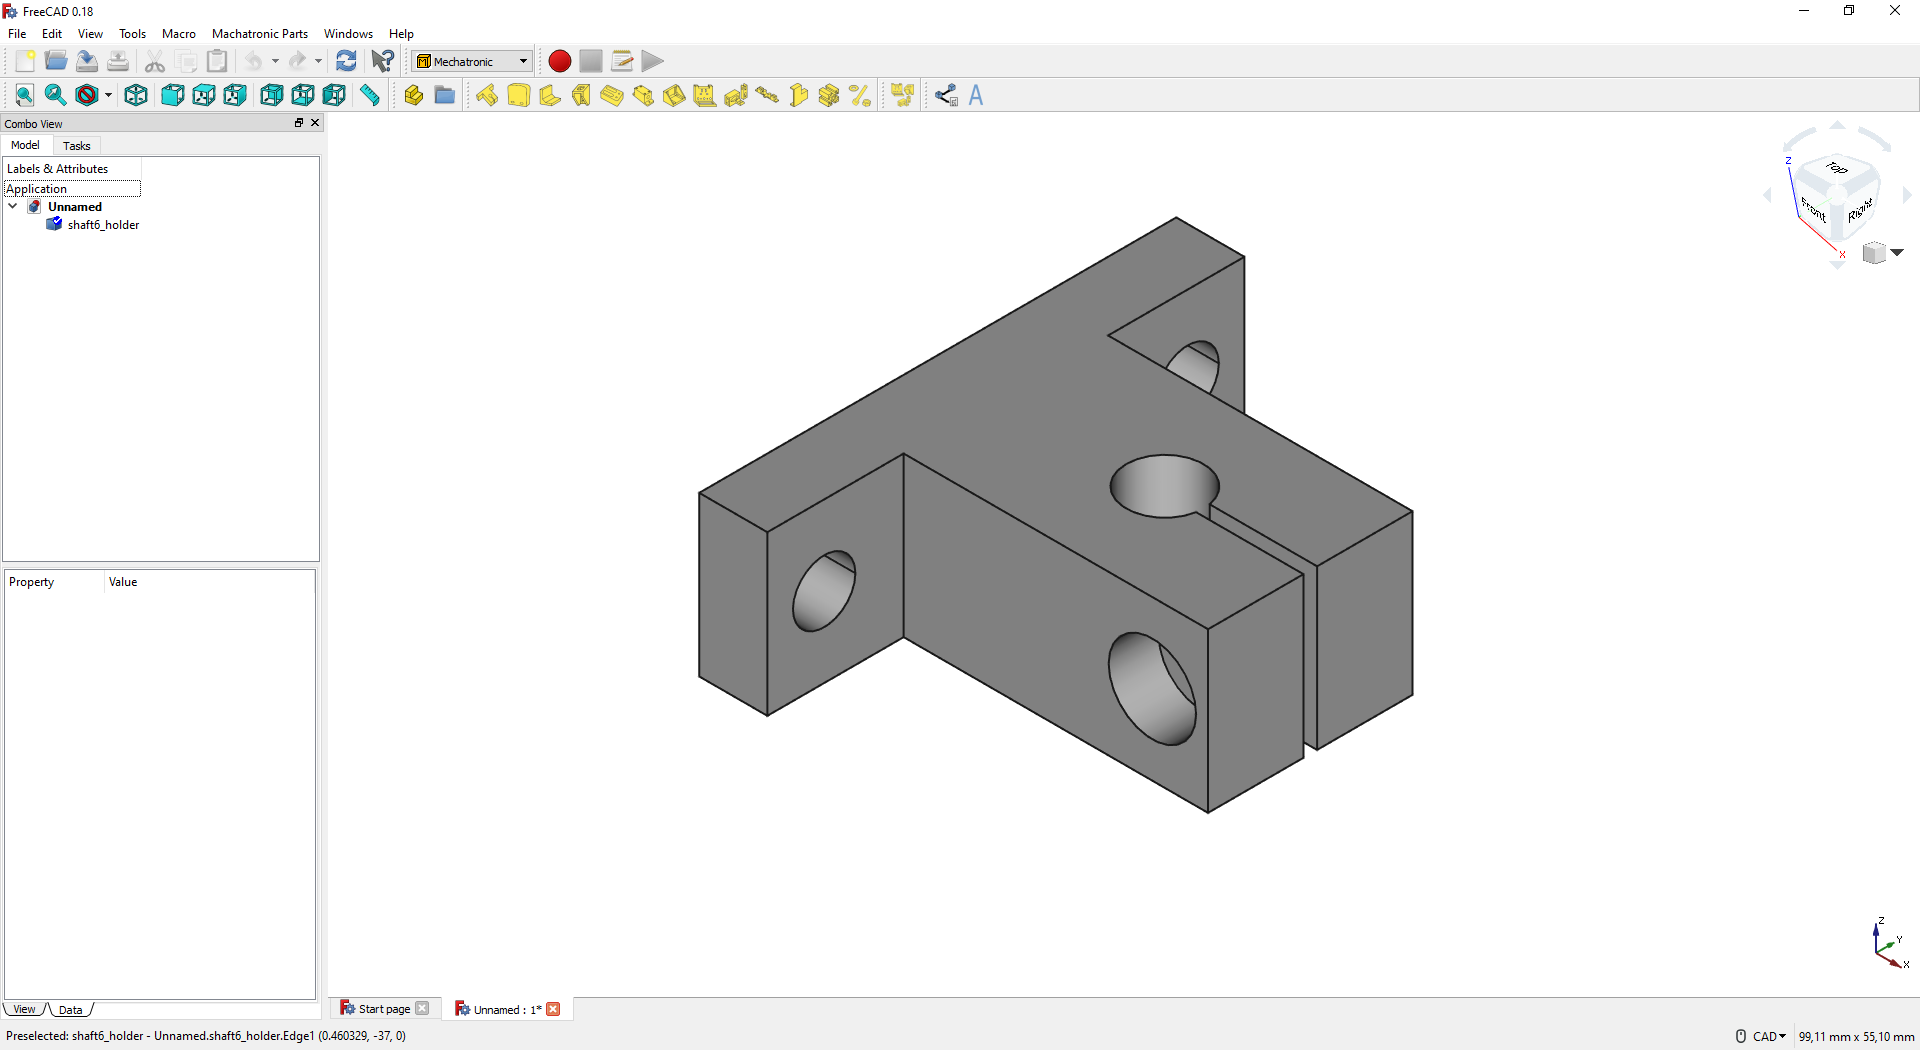
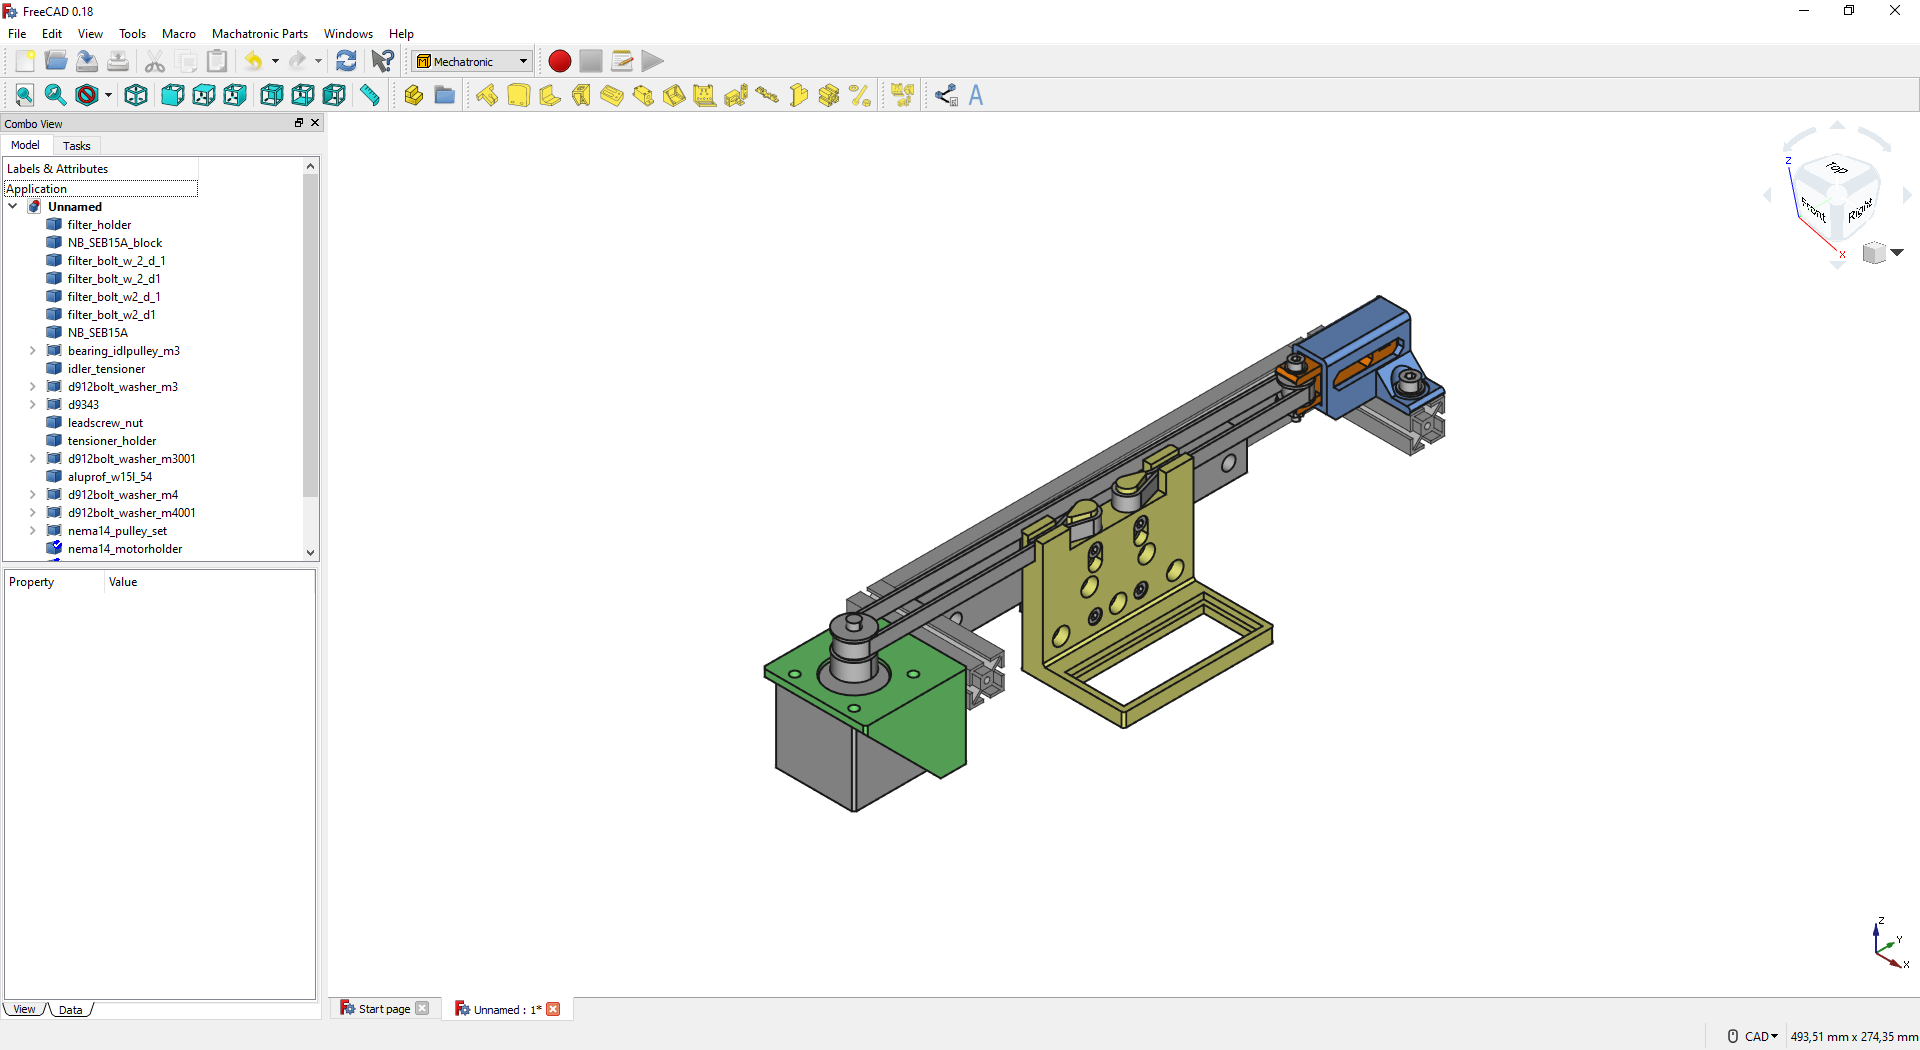
5- The model will be displayed with the options selected.
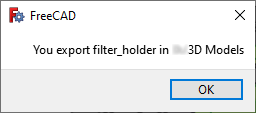
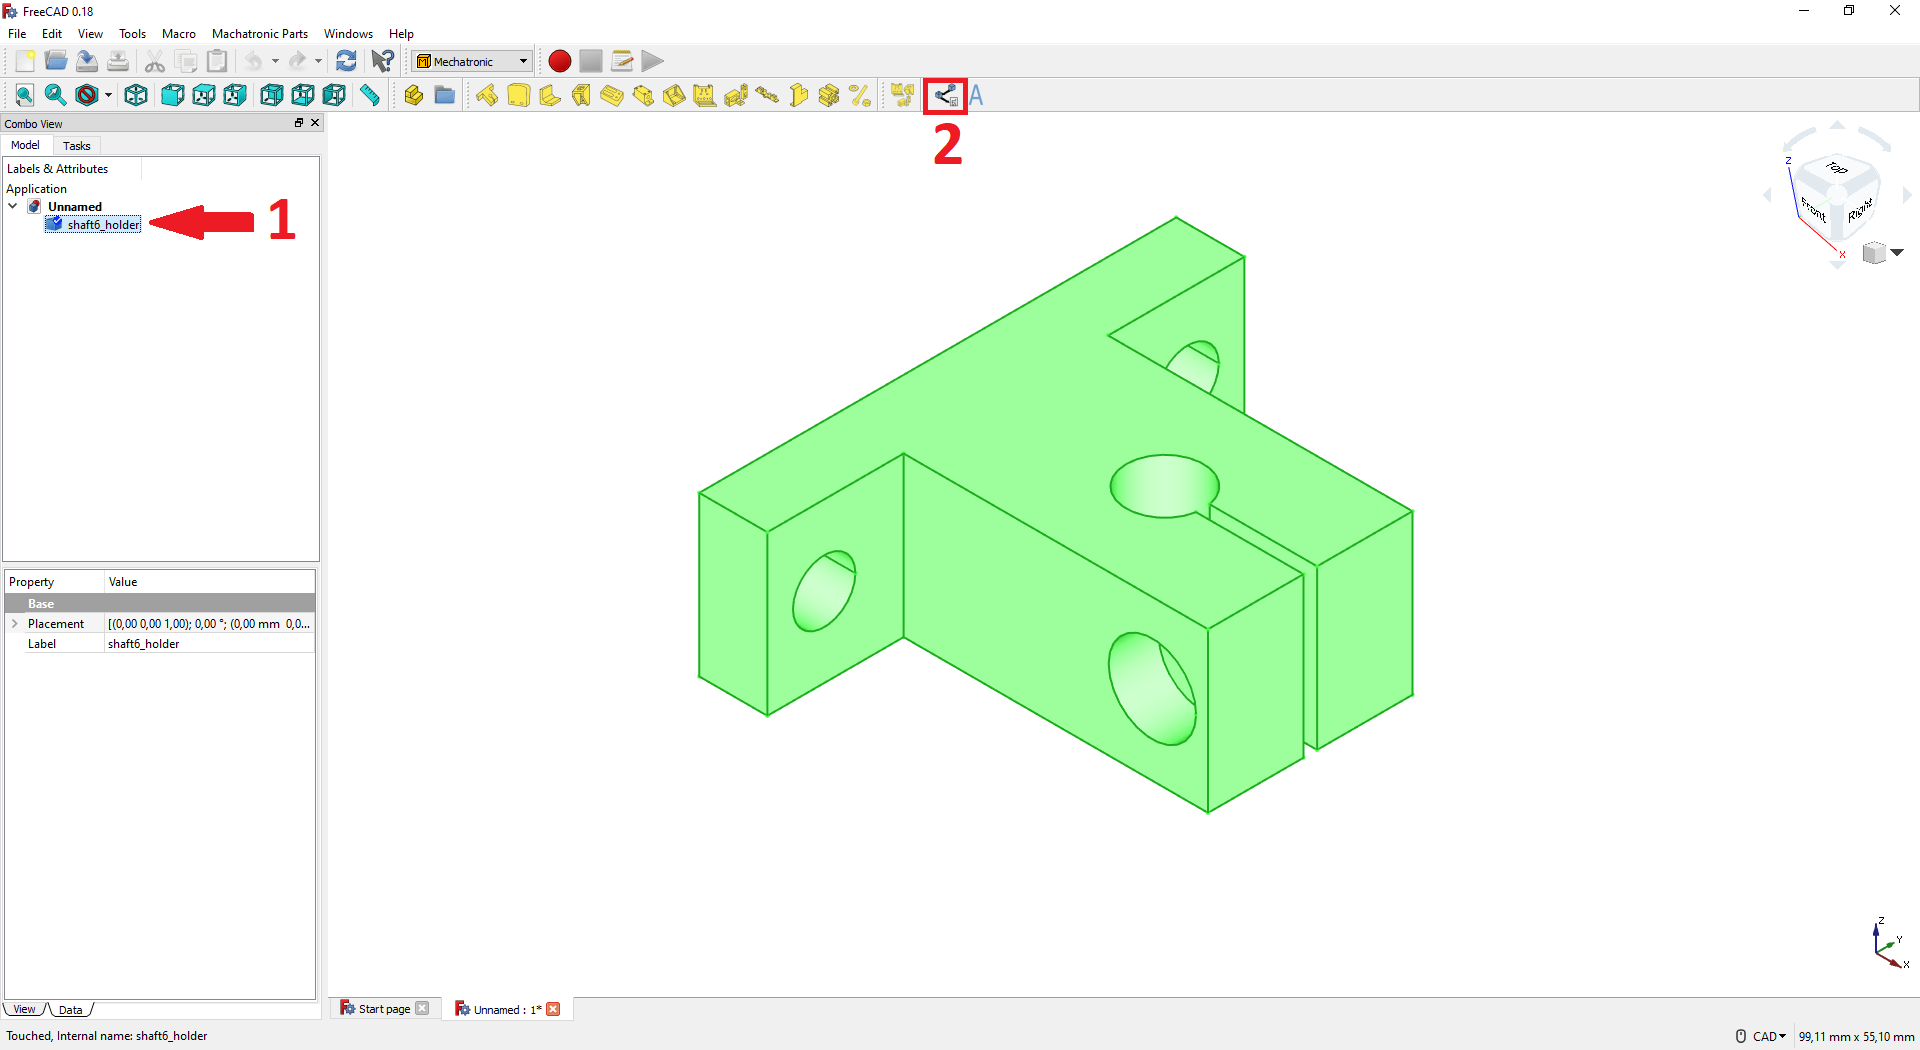
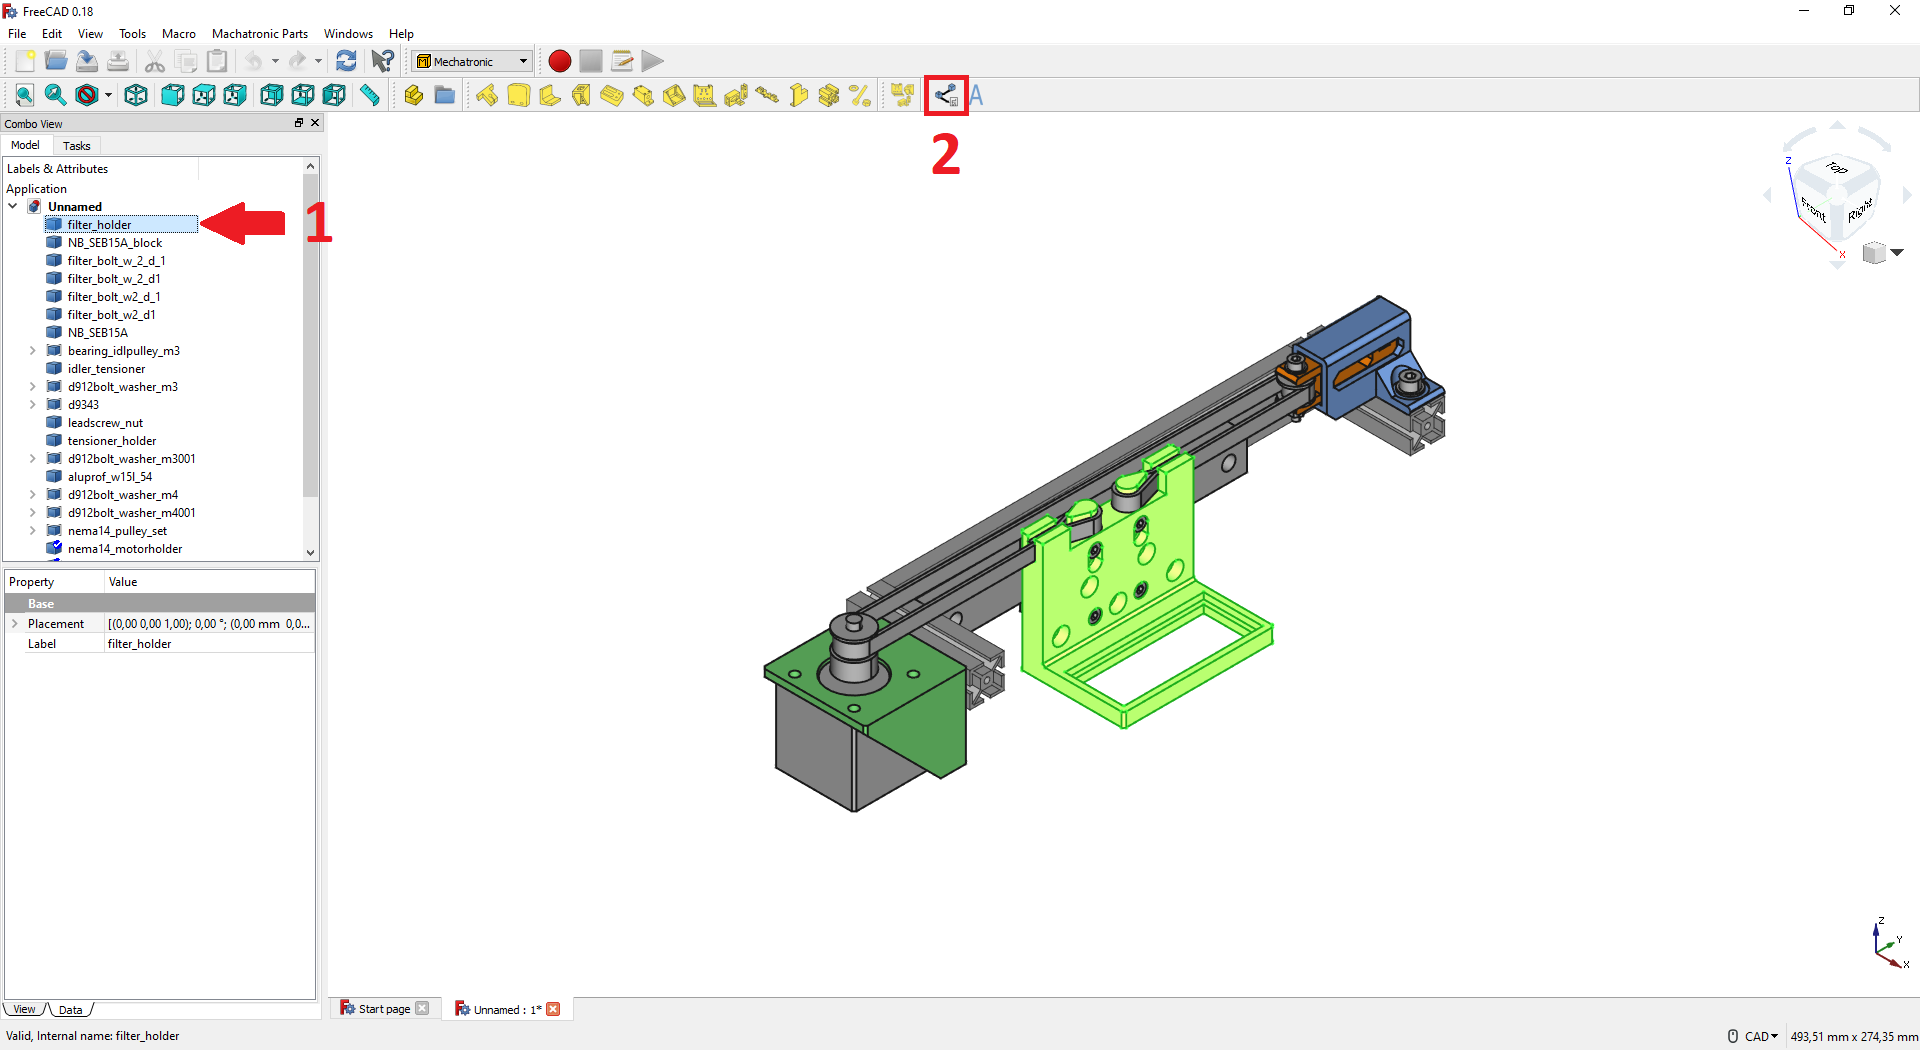
6- If you want to print the model, select it and then select the icon to export in STL format. This function also optimizes the orientation of the model for 3D printing
A new window will be displayed where you can select the folder to save the model
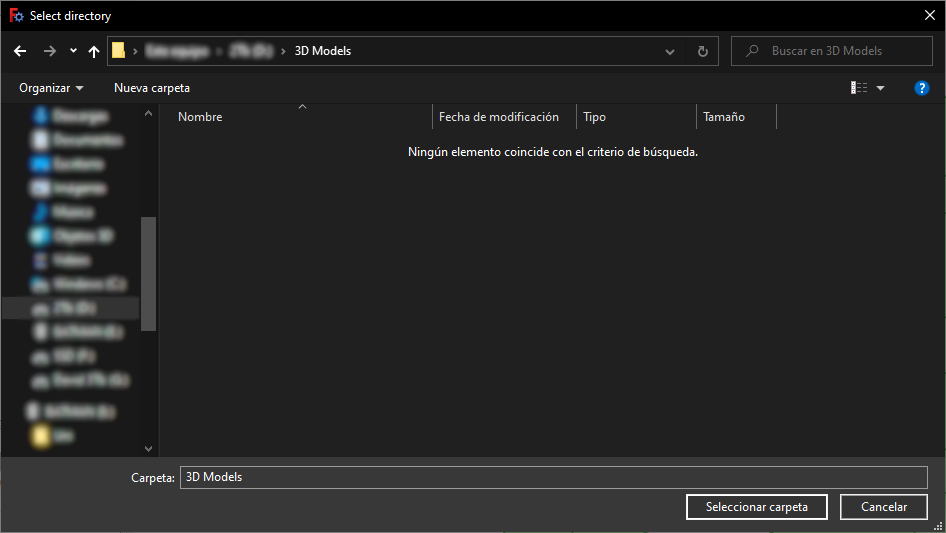
The model will be saved with the name and in the folder shown in the

Tutorial CAD 2 - Crate a system
1- After opening FreeCAD, the first step is to select the Mechatronic workbench. To do this, click from the drop-down menu on the top bar and select Mechatronic.
Note
If Mechatronic does not appear, check that you have followed the installation steps correctly


2- Once you have selected the Mechatronic workbench, open a new document, if you have not done so before.
3- When you have selected the Mechatronic tool bank, a set of icons should appear at the top. Select one of the systems to make your first part. You can also select the Mechatronic Systems menu to view the systems available.
4- When one of the systems is selected, the options to modify it will appear in the Tasks tab. Enter or select the values you want for the system. When you have finished, select OK to create the system.
5- The system will be displayed with the options selected.
Note
This may take some time according to your computer hardware
6- If you want to print one model of the system, select it and then select the icon to export in STL format. This function also optimizes the orientation of the model for 3D printing
A new window will be displayed where you can select the folder to save the model

The model will be saved with the name and in the folder shown in the